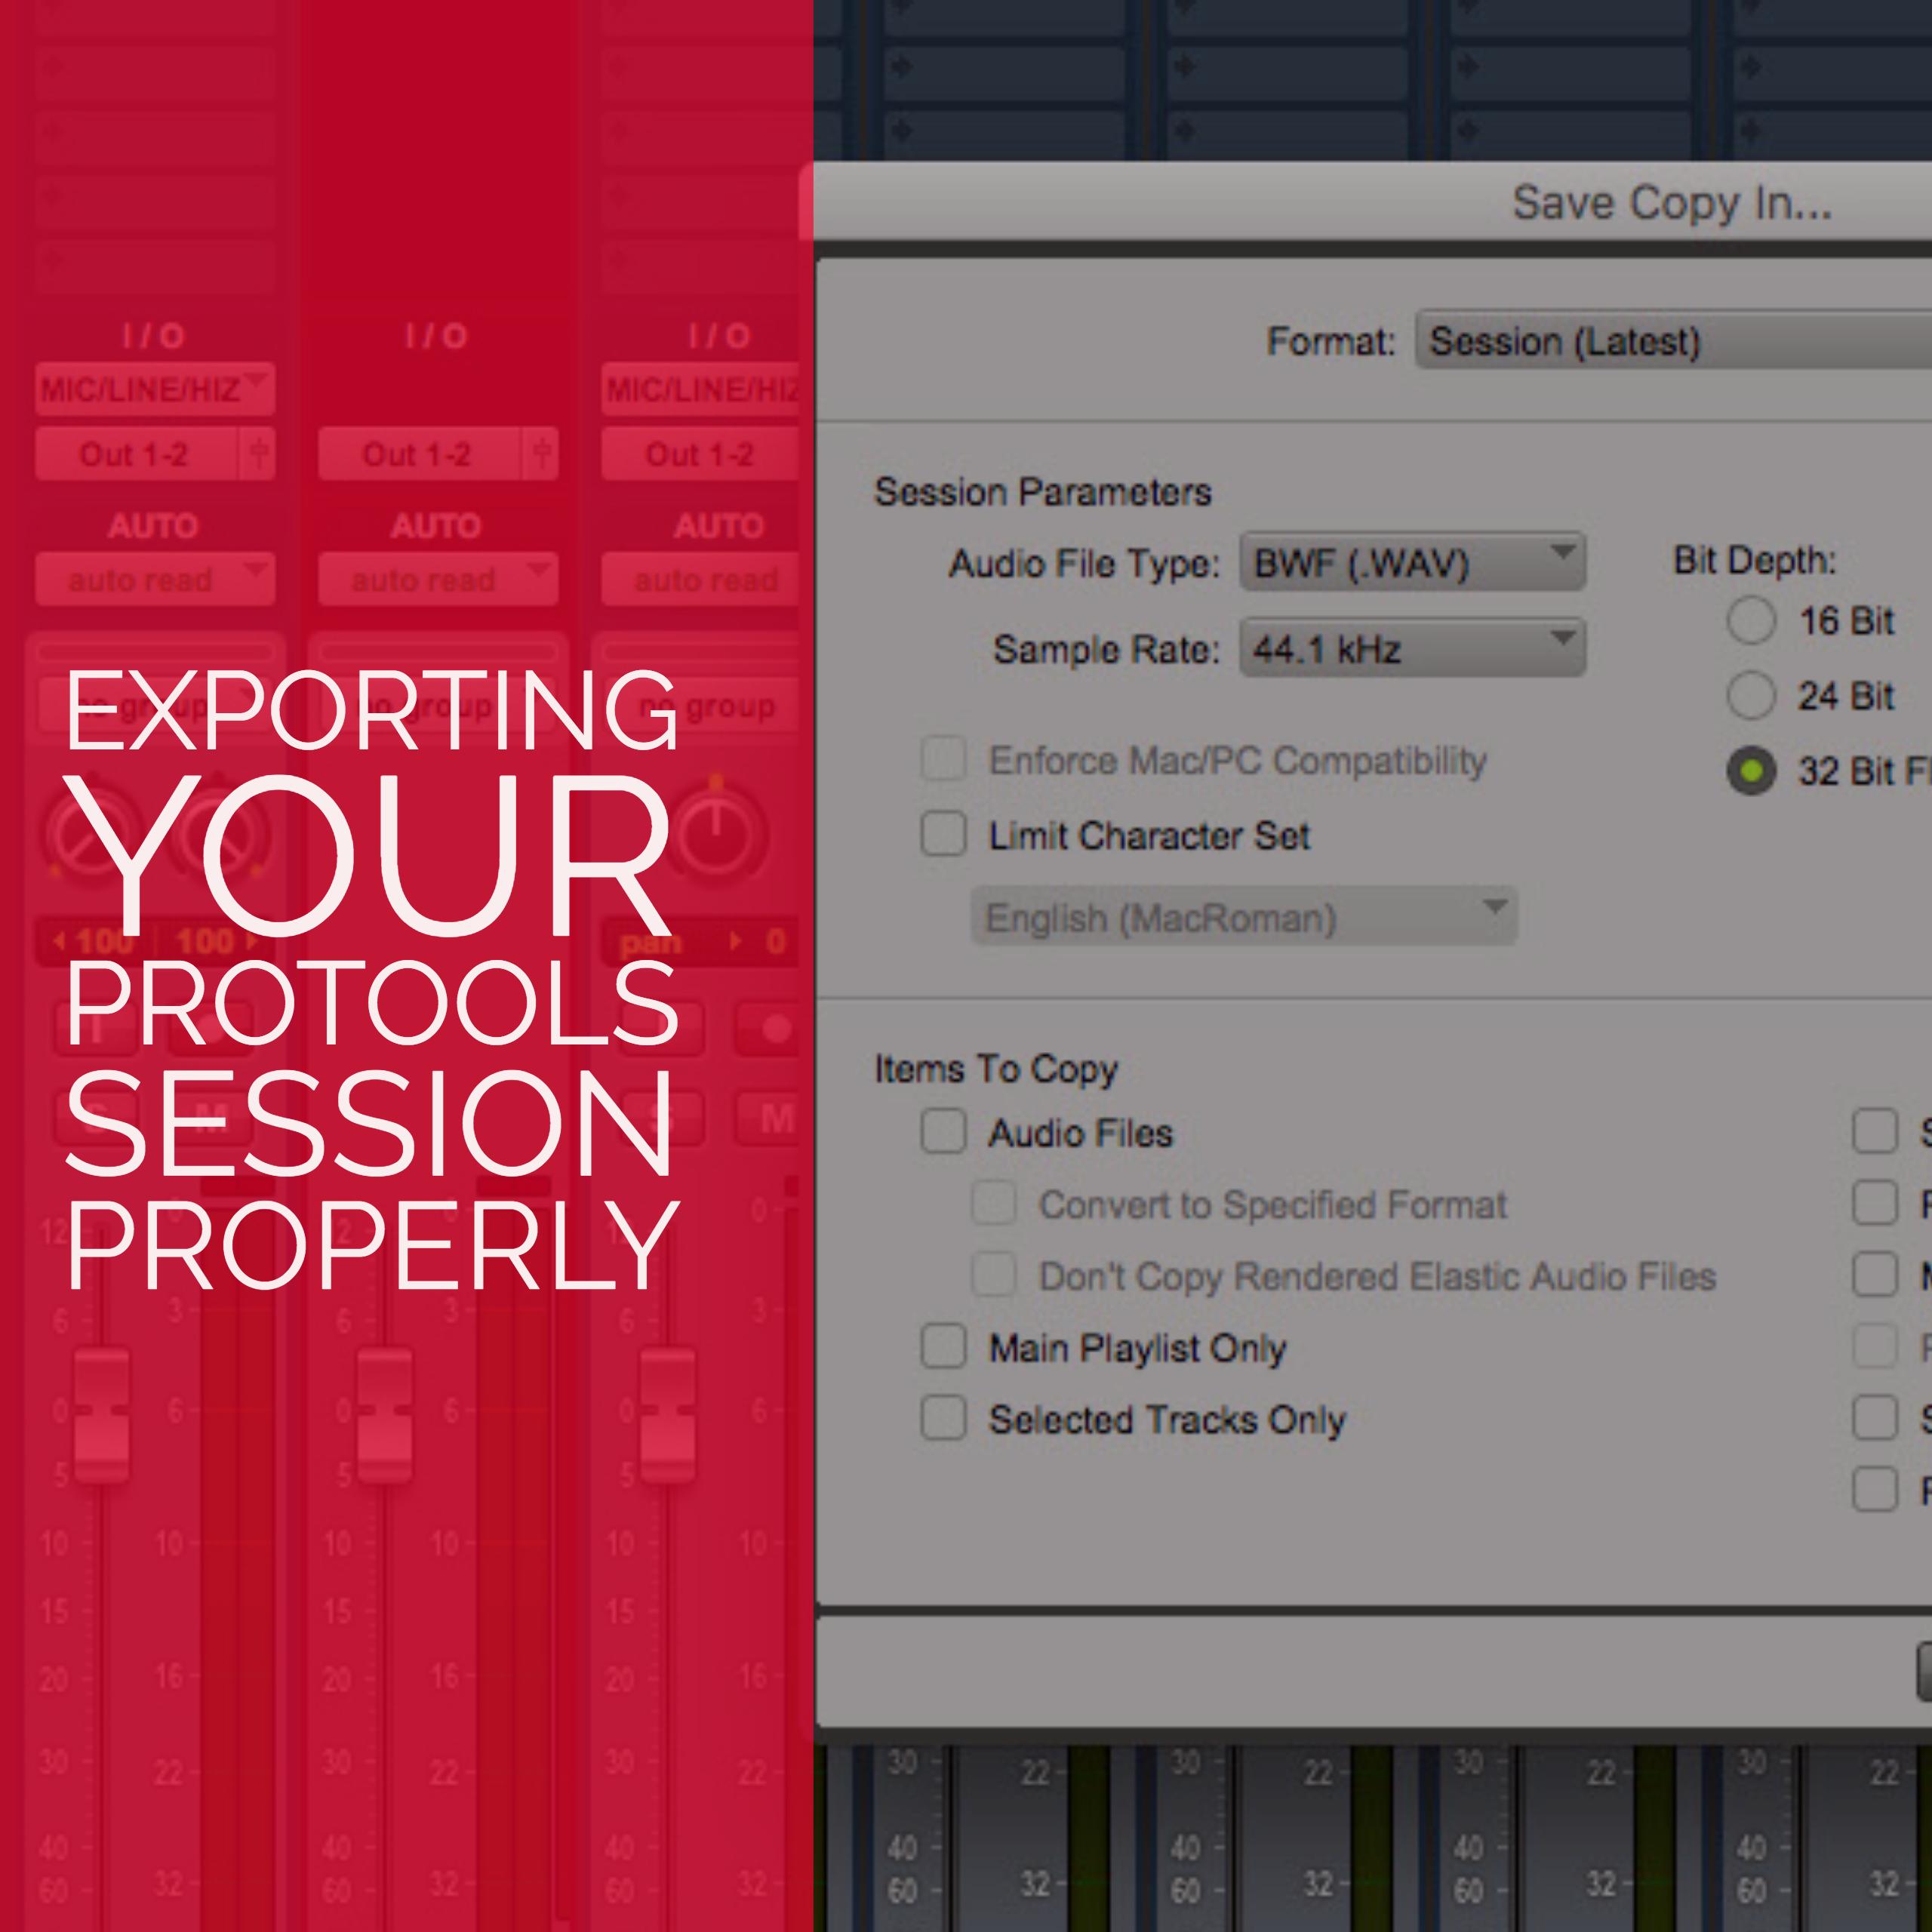
Most of the time, people tend to just go to where they’ve saved their session and drag and drop it to another hard drive or to a server somewhere on the internet. While this method works sometimes, it fails most of the time.
One reason is because, sometimes all the audio files in your session are not necessarily saved with the rest of your session files. For example, if you’re a producer and you like to “Drag & Drop” files into your session from your computer, the actual file stays in the location that you found it, verses using “Import Audio” which COPIES the file to the folder that contains the rest of the sessions files.
This is one reason you always see this: – Yeah I hate it too.
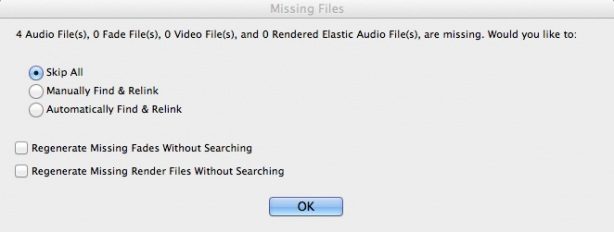
Well the solution to this besides relocating all the files manually (if you even have the files), is to Save a Copy of your session. This is how you do that:
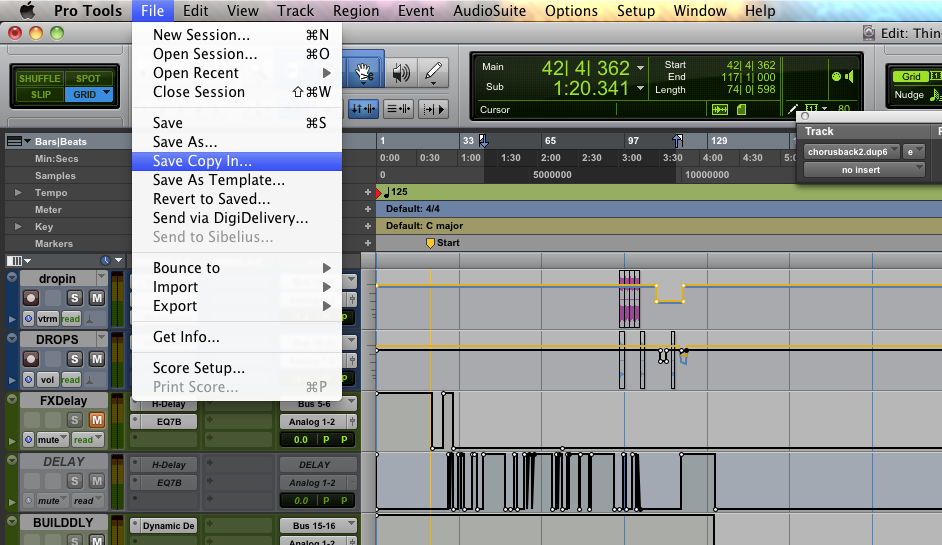
1. Start by going to File > Save Copy In:
2. After clicking on Save Copy In, you’ll be brought to this screen:
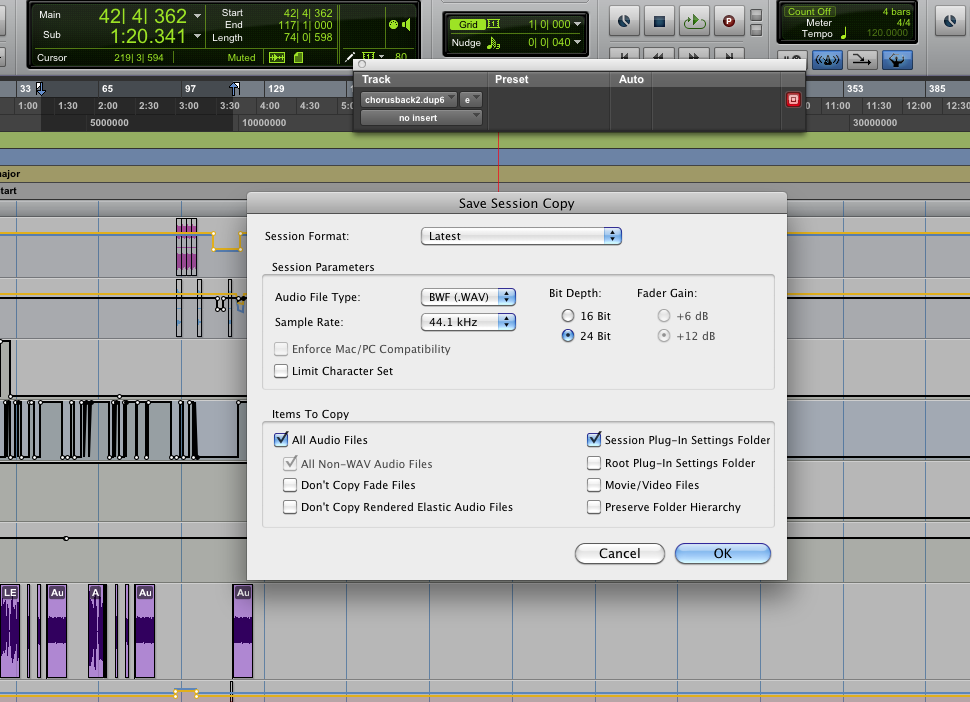
3. Make sure to check “All Audio Files” and “Session Plug-In Settings Folder”. Hit “OK” then it will ask you to save the session somewhere:
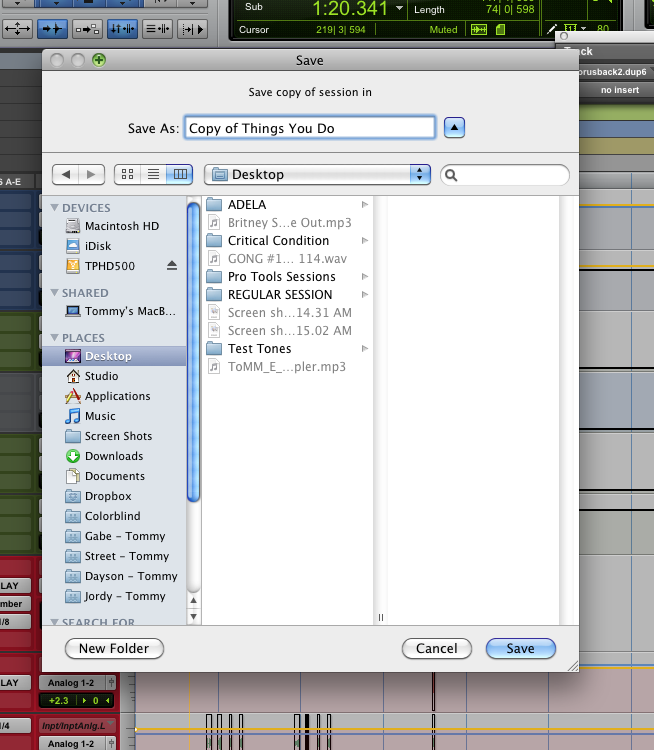
4. Select your Desktop there on the left and hit Save. It will then show you a progress bar. When it’s complete, you can then Drag and Drop the Copied folder anywhere you want without any worries. BUT, If you’re going to send it to someone over the internet, follow this last step and you’ll be golden boy (or girl).
5. Time to ZIP the folder. The reason we do this is to package all the files into a single file, kind of like putting everything in a box and shipping it. Then when it gets to its destination, it can by taken out of its box (unzipped).
Head over to your desktop, right click the folder and select (in this case) [Compress “Copy of Things You Do”].
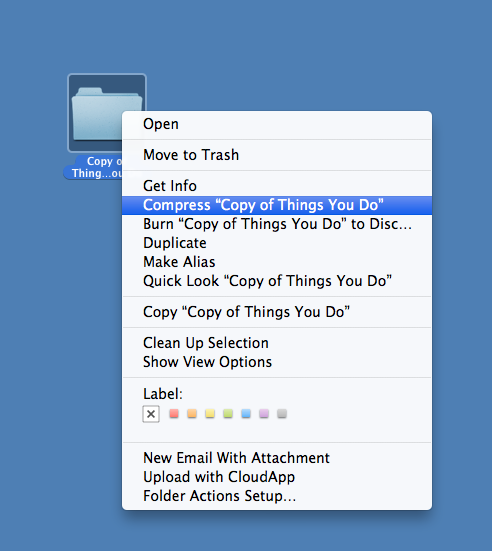
Here’s the result:
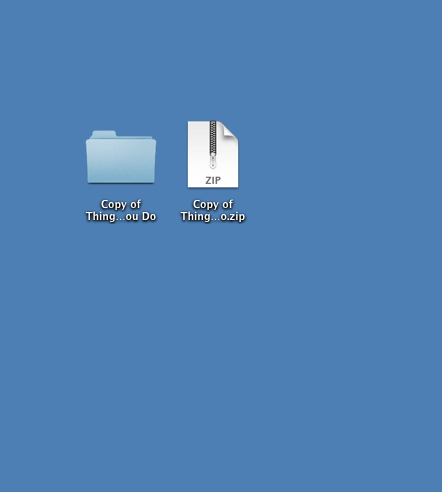
Now you’re ready to send this session to anyone anywhere.
