When it comes to cleaning up sessions, the amount of attention required can become a bit tedious. So with that in mind, why wouldn’t we use all our tools to save time? Let’s go over how to use a very handy tool called ‘Strip Silence.’
Why is it useful?
When you record a lead vocal or put 9 microphones on a drum set, you’ll find that there is usually a lot of dead space between the audio we want to keep. A tom mic is recording the sound of the room and other drums. Leaving all this dead space can result in unwanted buildup of frequencies. When a singer isn’t singing between verses, the mic pics up there breathing and movements.
Strip silence helps remove these unwanted areas without going through each section of every region and manually deleting the unwanted parts between waveforms.
Let’s keep what we need
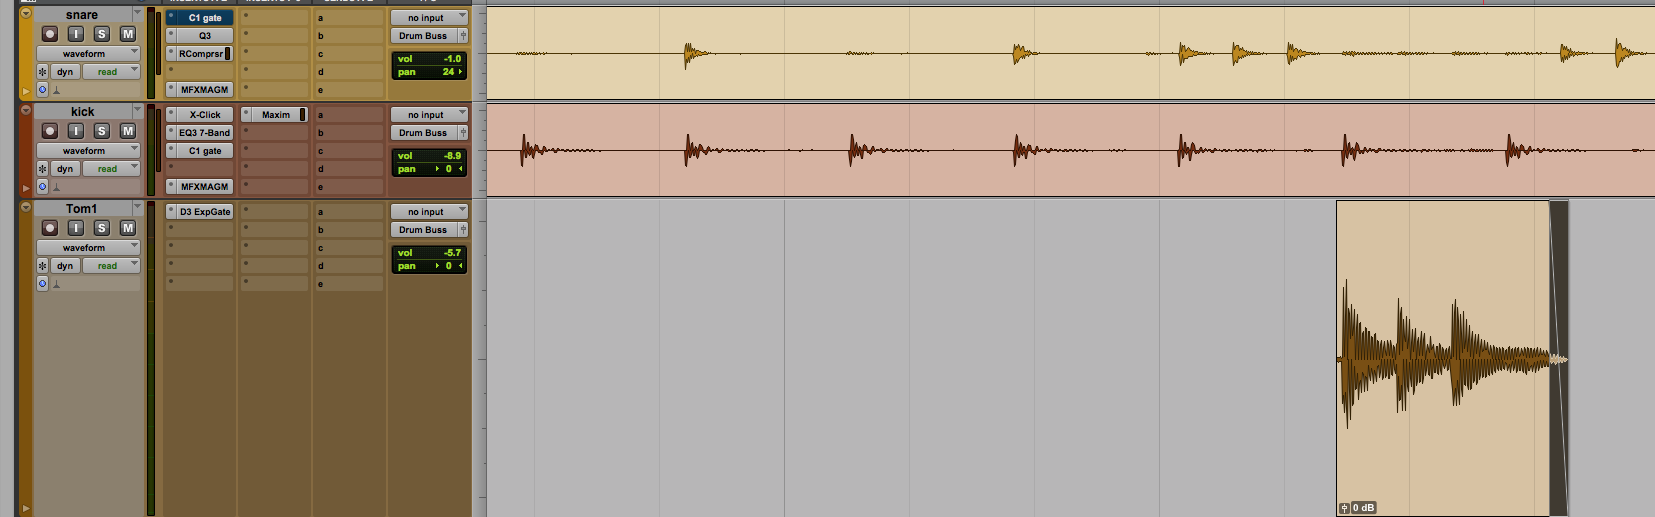
- First lets bring up a session that has some drums in it.
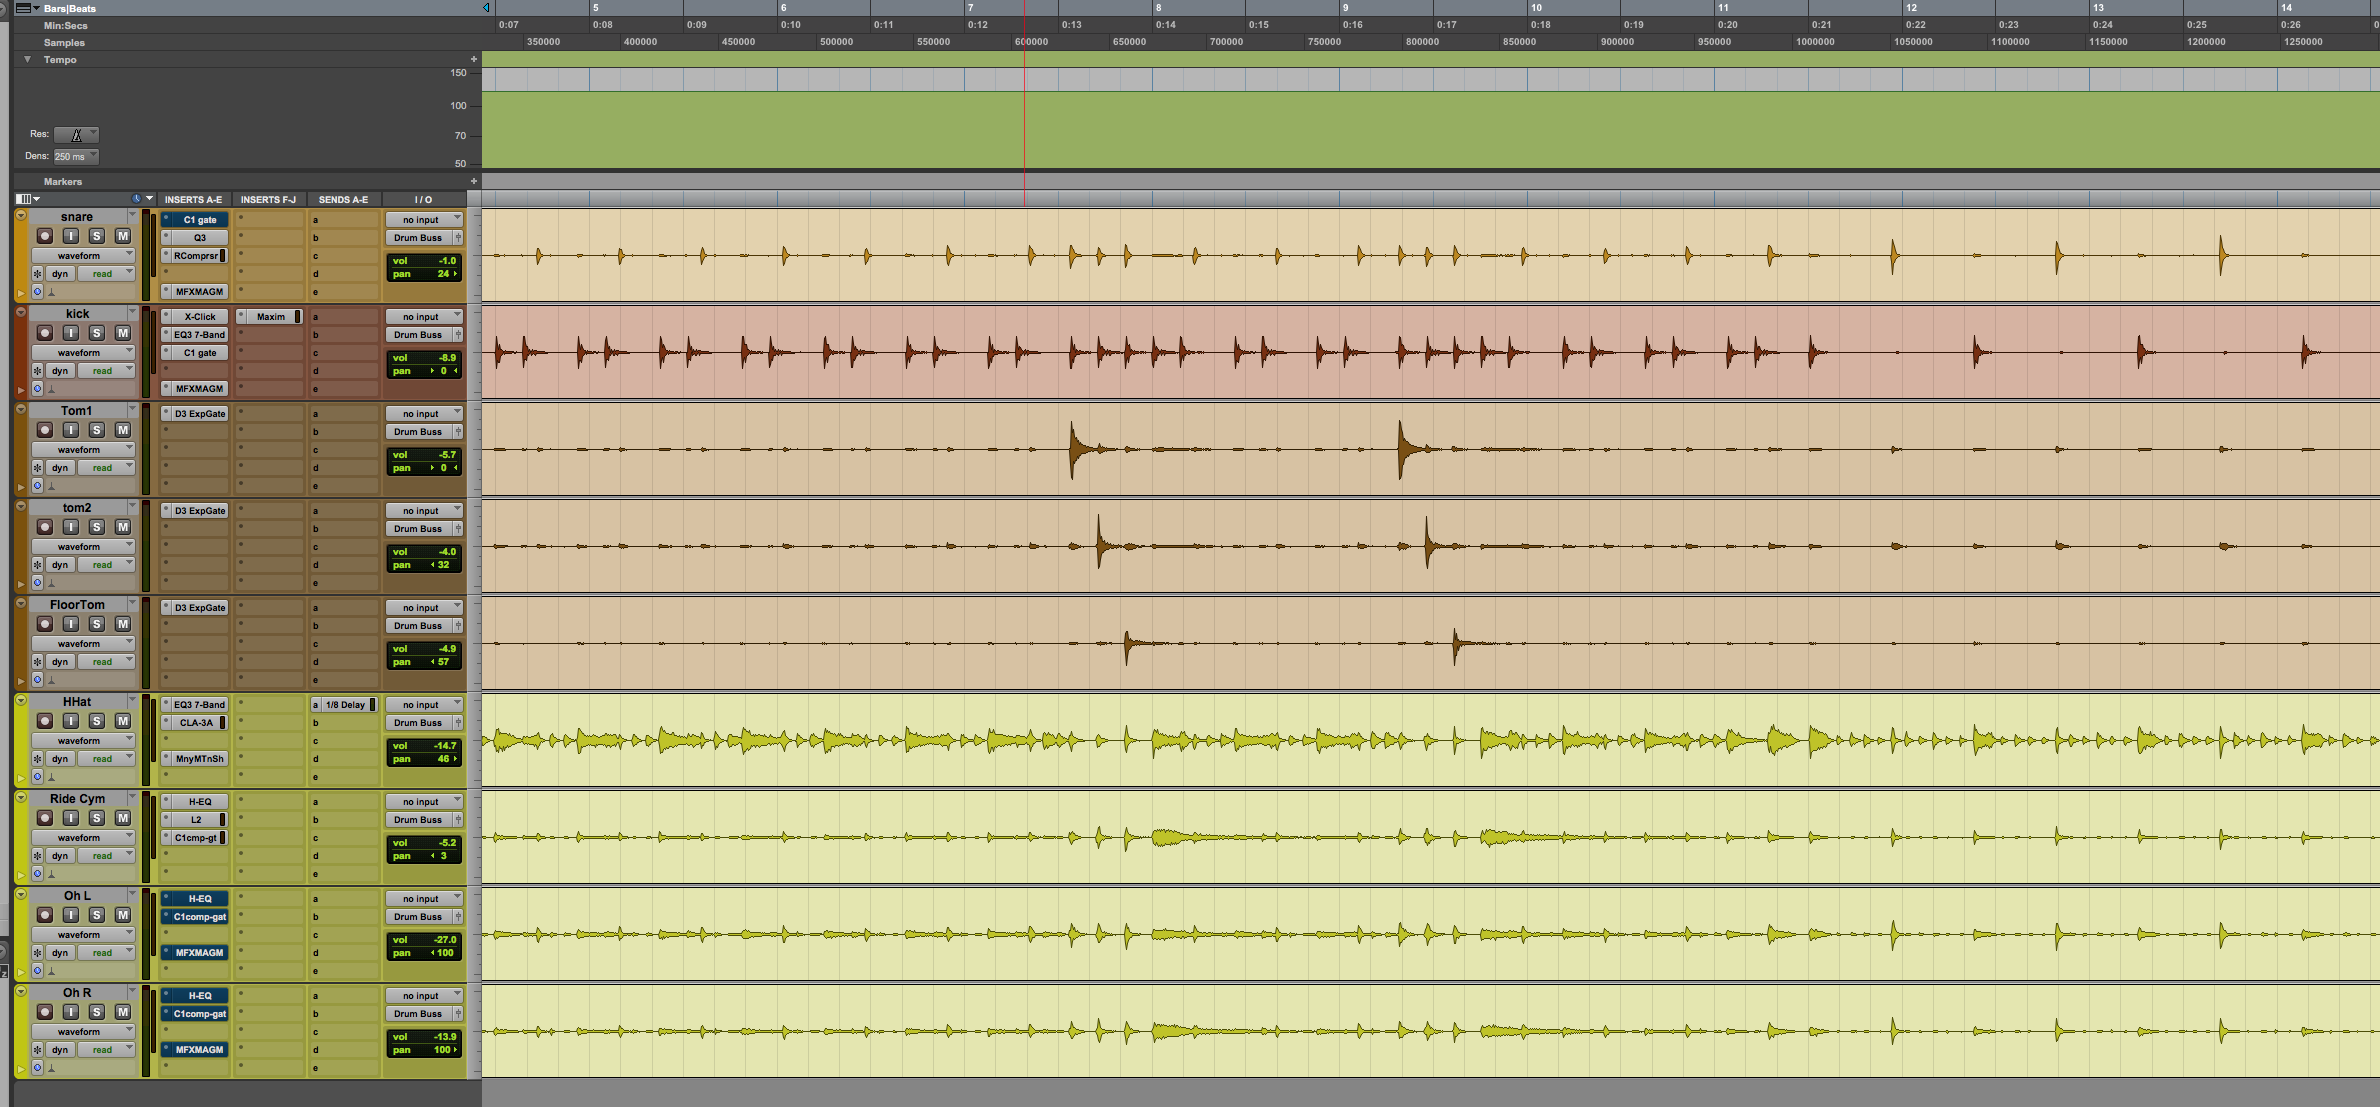
- Lets go ahead and select the whole region for Tom 1
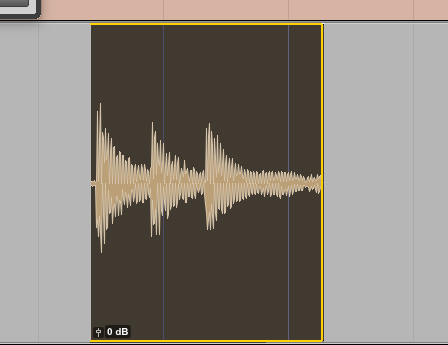
We want to make sure we can see the transients of the waveform when using strip silence. Hold Shift + Option and scroll on your mouse to increase or decrease the size of the waveform. This is helpful if you are having trouble finding the transients that represent what the microphone was put to pic up- in this case a tom.
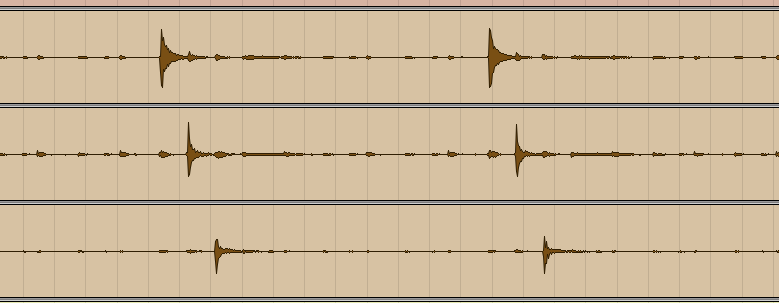
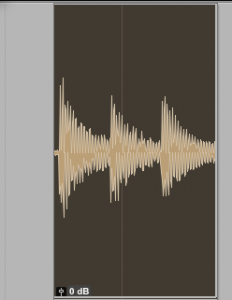
Normal size of the waveforms for Toms 1,2, and 3.
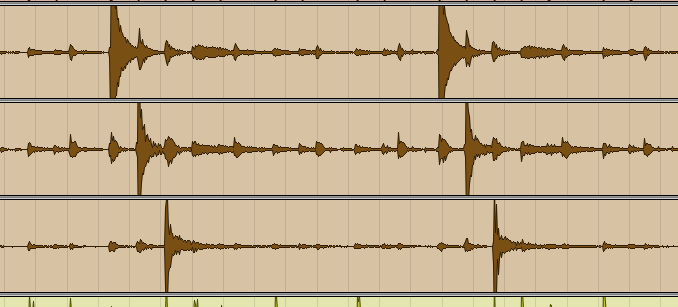
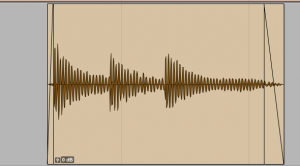
Increased view of the same tracks.
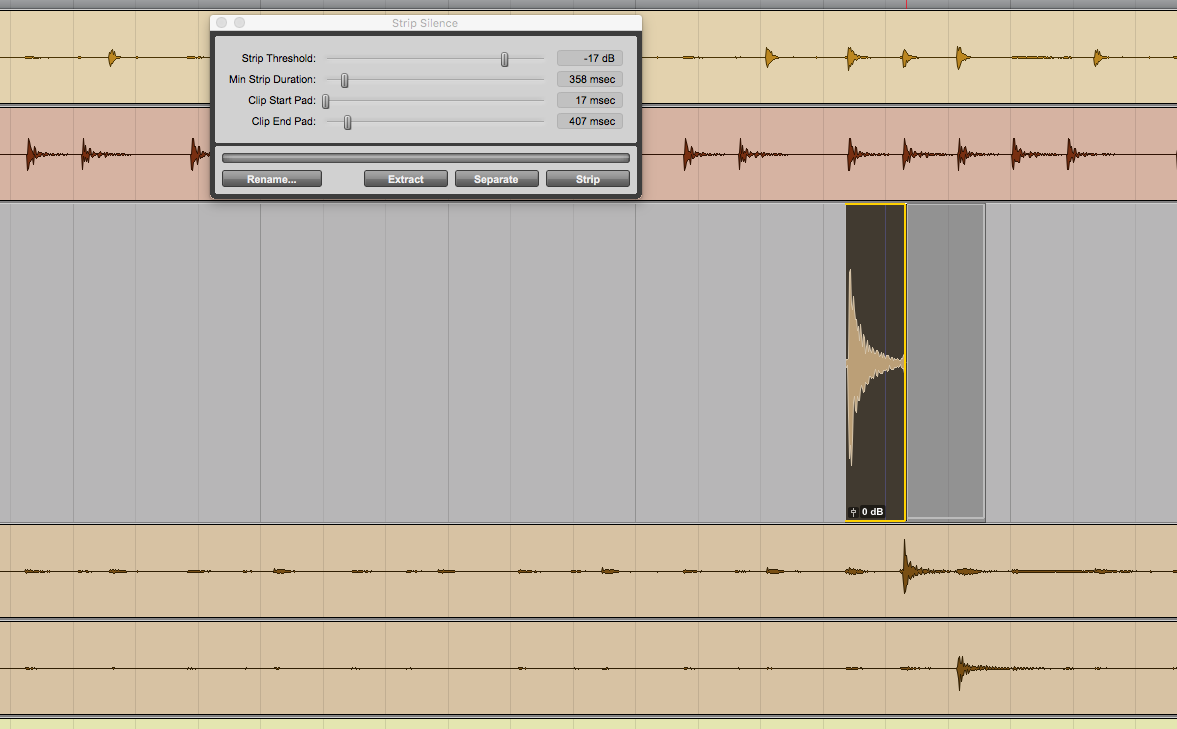
- With the region selected, go to the Edit Menu and select ‘Strip Silence’ or press Command + U on your keyboard.
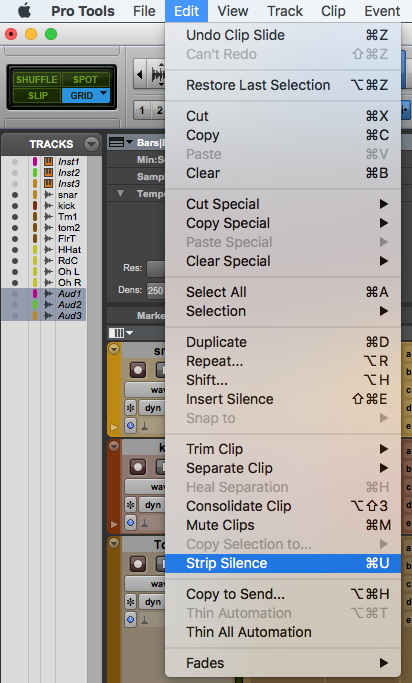
- You will then see the Strip Silence prompt pop up on the screen
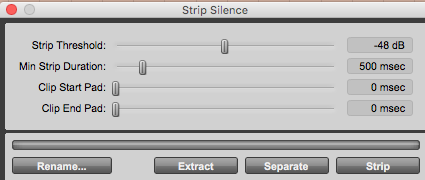
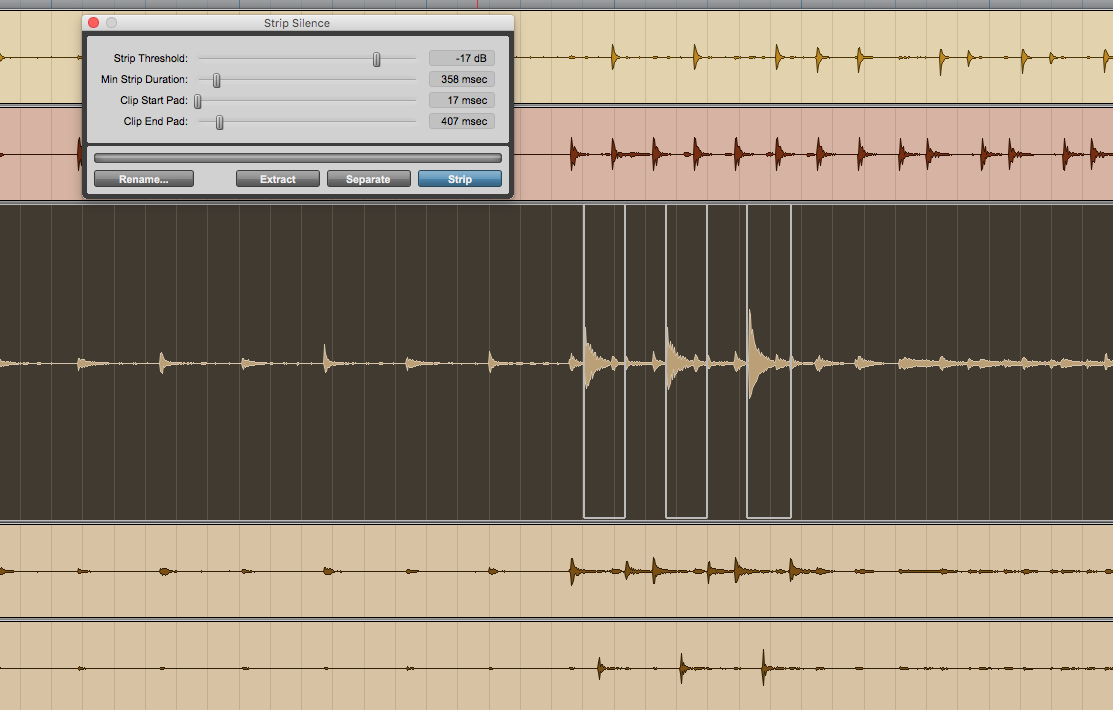
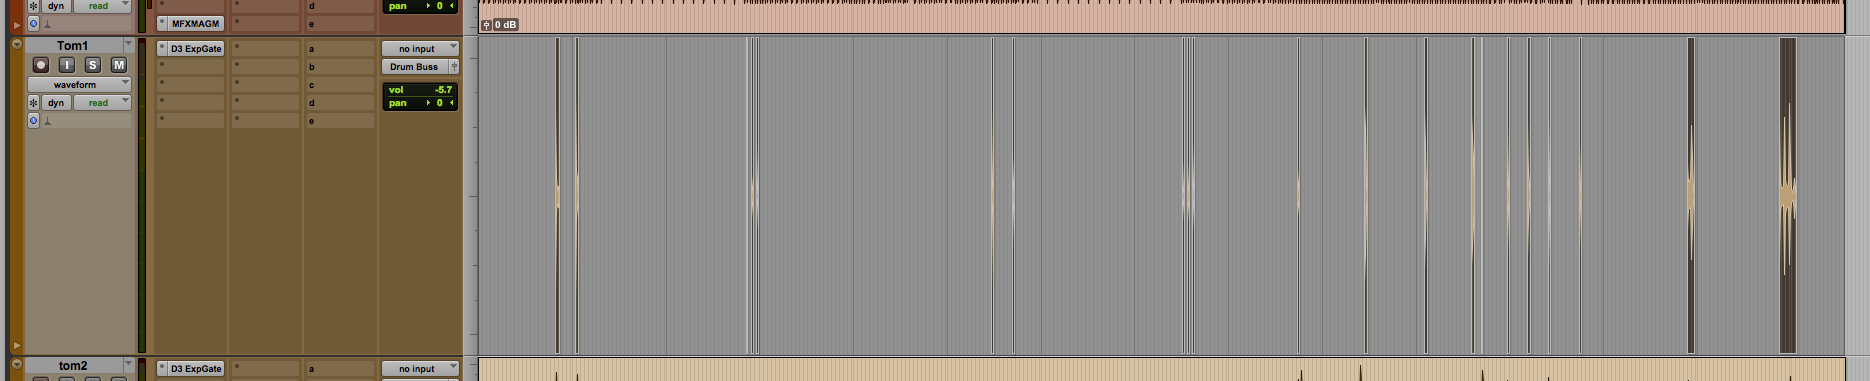
- Raise the ‘Strip Threshold’ until you see the boxes isolate around actual transients of the region.
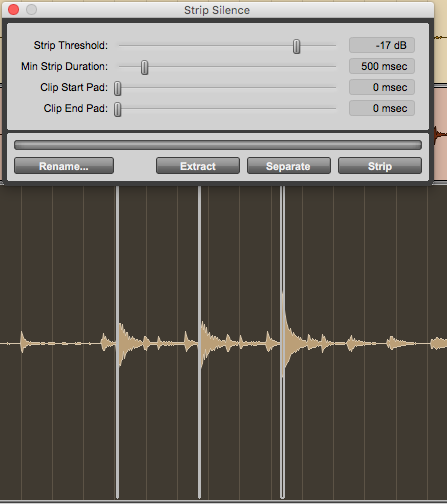
- Adjust the clip start and end pads so that the whole sound is in the selection.

Sometimes when you are trying to add some pad to the end, it will connect to the next box and keep you from stripping the sounds between the hits.
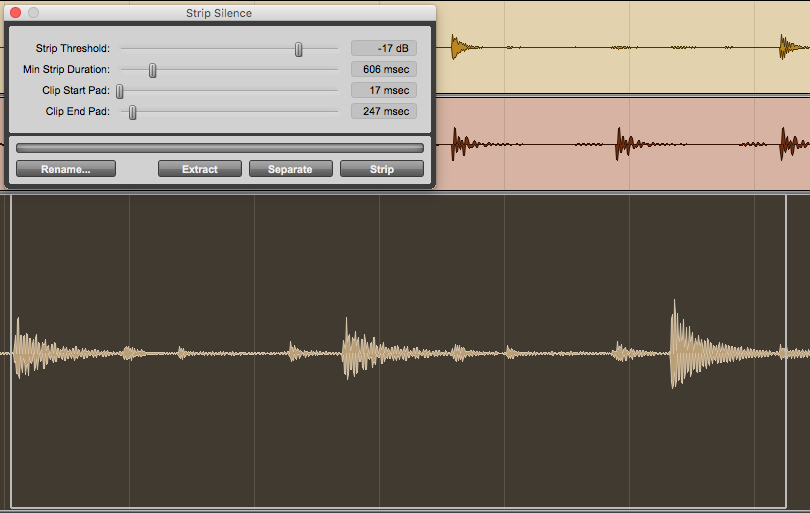
This is happening because the ‘Minimum Strip Duration’ is too long for the duration of what you are trying to keep.
![]()
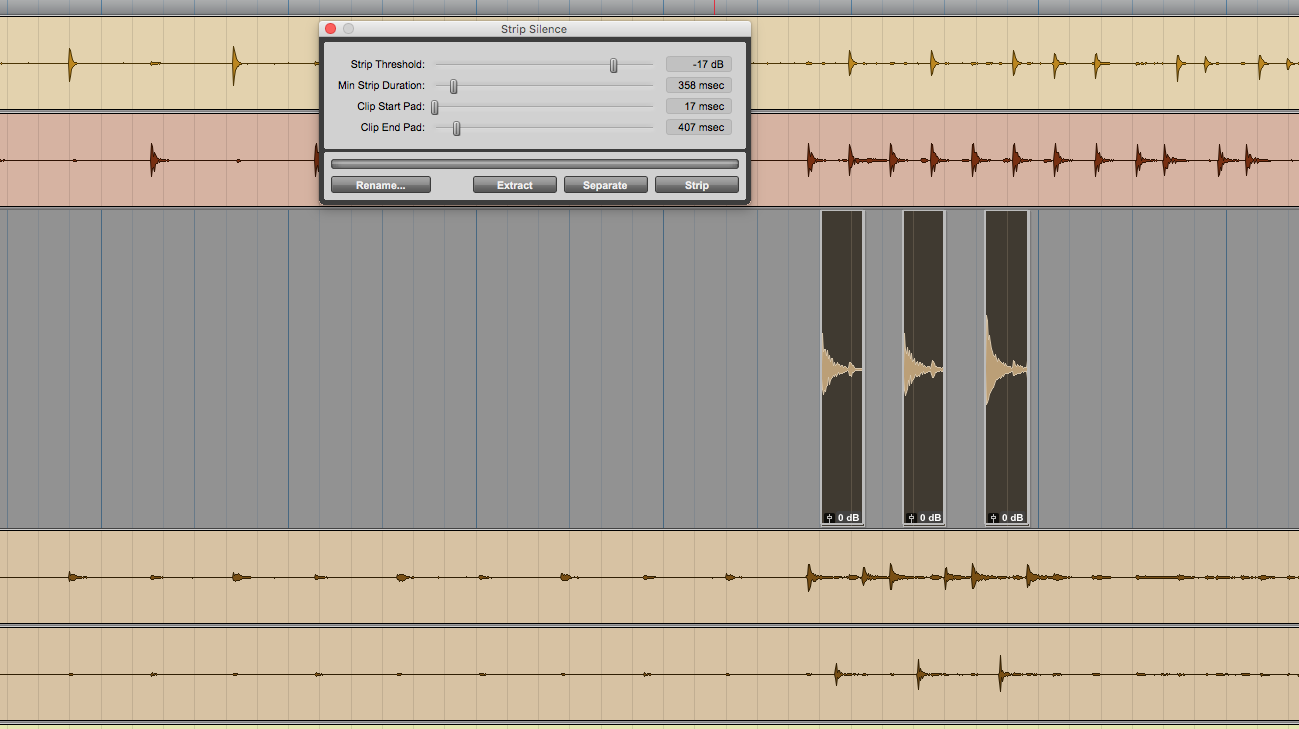
- Lower the field until you see you see your clips isolated correctly.

- Go ahead and press strip silence in the window.
Now you will notice that everything that wasn’t in the white boxes has been deleted from the track. Now you can go back and make sure all the new regions are correct and make any adjustments.
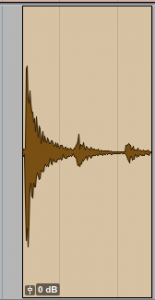
Notice in this region there is a transient left behind the tom that seems like mic bleed from tom 2.
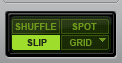
- Make sure you are in slip mode in your edit window.
- Now trim the end of the region around the transient we want the region to end at.
- Now put a fade on the end of the region so your tom hits and then the track smoothly goes silent.
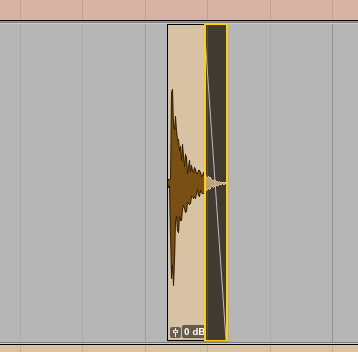
- Also add a fade-in so that its entry is not disruptive to the noise floor.
Lets look at another possible adjustment scenario
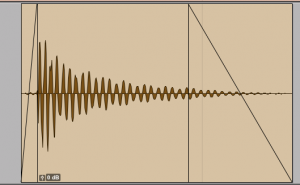
Here we seem to have the opposite of our first adjustment. This region has been cut too short. This may happen because the sustain on this impact was longer than the majority of the waveforms we set strip silence to sense.
- Follow the same steps as the first adjustment we made, however this time, pull the end of the region outward.
Here you see I added length, a fade-out, and fade-in to the region.
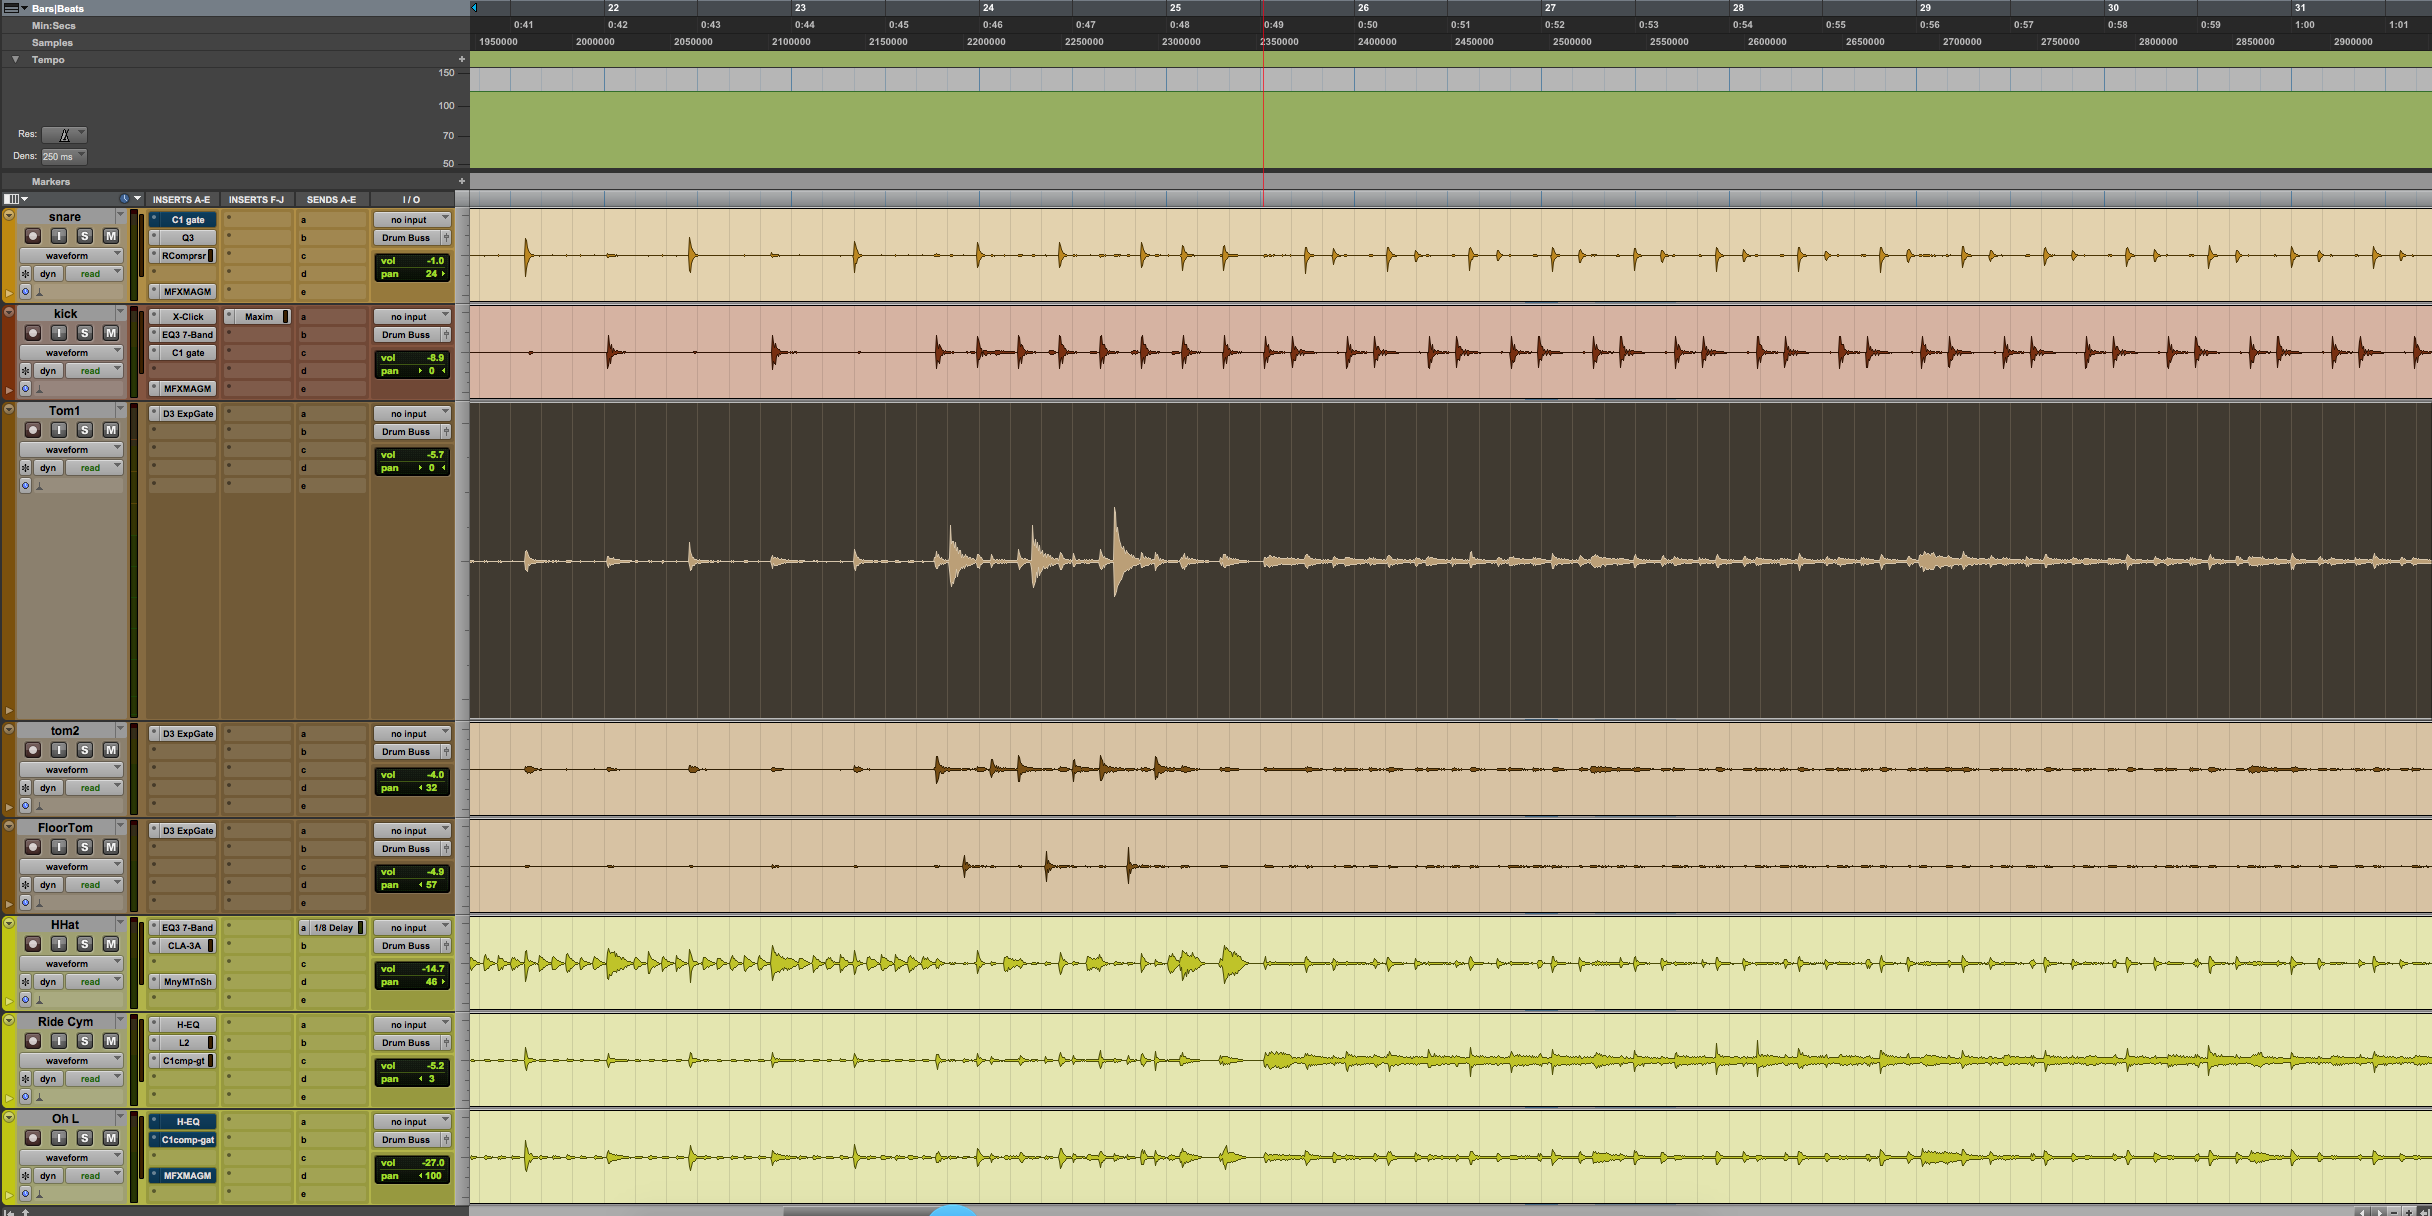
A good way to determine if you are ending the region at the right part with drums is to compare the waveform to others.
If you look at my snare track here, you will notice it hits right around the fade I added. I saw a bleeding transient on my tom and heard that there was no tom hitting there.
Now we are going to clean up your session little bit.
We don’t want to have a ton of regions everywhere. Now that we have made all the adjustments and fades on our tom track, we can consolidate all of the regions on the track.
- Make a selection on the tom track that highlights the entire song.
- Now go to the Edit Menu and select ‘Consolidate Clip’, you can also press Shift + Option + 3 on your keyboard.
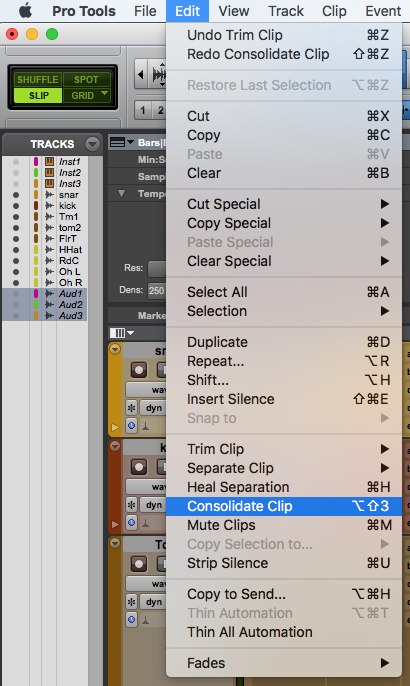
After you do this you will see the entire track become one region.

Why do we do this?
Other than having a cleaner look to your session, consolidating helps make sure you don’t get any of those many regions sliding around.
Preventing errors isn’t the end of it. Consolidation gives all your audio regions the same distance between waveforms and the beginning of the song. You can send these audio files to somebody who uses a difference DAW. If they import them they will sync up so long as they are all at the start of the session or project.
There you have it. A useful tool in removing room noise from instrument and vocal tracks. This will give you more control over your mix by leaving room noise for intended applications and not mudding frequencies. If you found this interesting, you may enjoy our tutorial on how to reduce the size of your session to send off. This is a good thing to do after creating a bunch of unused regions like during the edits in this tutorial.