In this tutorial, Tommy goes over how to use the ‘auto-session backup’ feature in Pro Tools.
Why are auto-backups important? Well if you have just done 30 minutes of work and you have not enabled this feature, you will have a lot of time to make up if pro tools crashes.
To enable the feature:
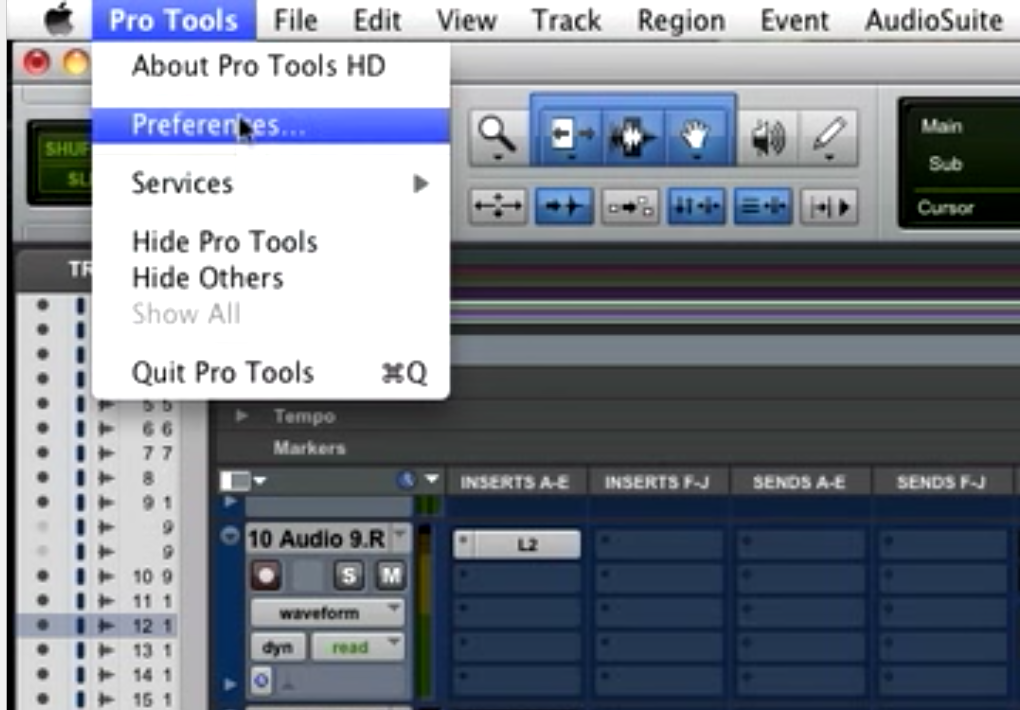
- Go to Pro Tools Menu > Preferences
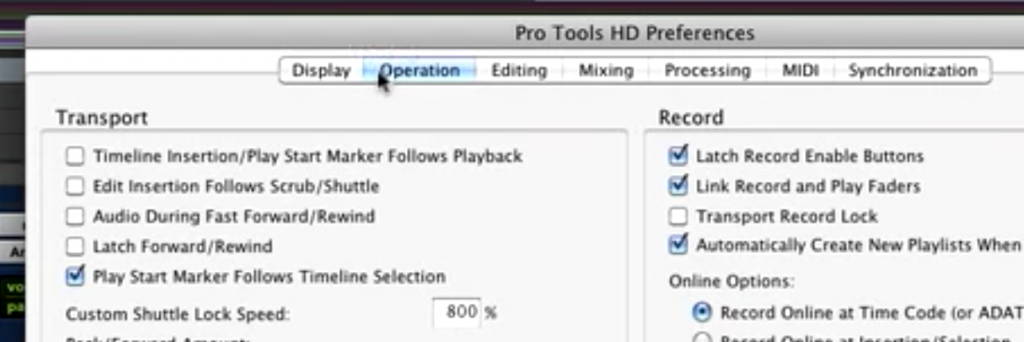
- Click the ‘Operation’ tab at the top
- Click Enable Auto-Backup towards the bottom of the preference window.
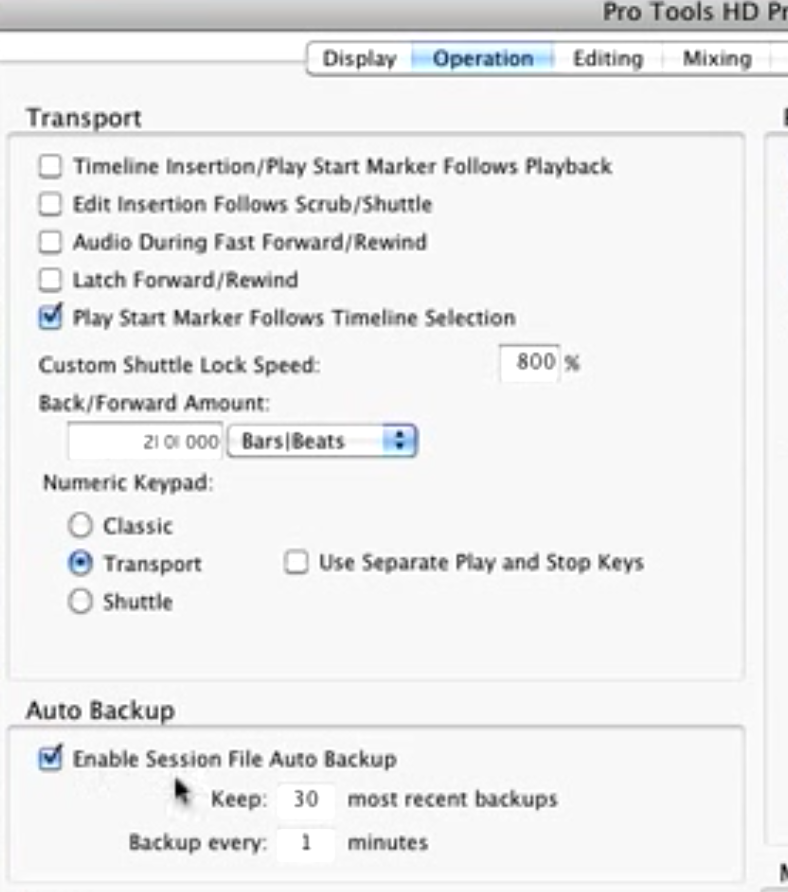
- Next, choose how many recent backups you would like to keep. Pro tools will automatically delete the oldest one so you don’t have tons and tons of backup files taking up your CPU’s space, but you get to set the limit. For Example, if you select 30, it will always delete the 31st oldest backup as new ones are created.
 Here you can also choose the interval in which you want Pro Tools to make this backup. Tommy sets his auto backup to save a new session every one minute so he never loses much anything if the session crashes.
- Click Okay
After you enable this feature, you’ll of course want to know where to find these backups.
- Locate and open the Session Folder for the project on your computer.
- Once inside, go to the ‘Session File Backup’ folder and open it
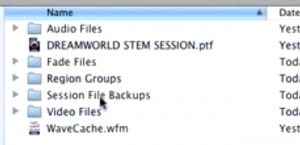
- You will then see however many backups you have your limit set to.
- To find the most recent session backup, open the highest numbered backup, or click the top of the ‘date modified’ column in the folder and it will place the most recently added file at the top of the list.

After you choose your backup file, you need to make sure it is named correctly.
- After identifying the session backup file you are looking for, double click it to open or select it in the ‘Open’ window from inside Pro Tools.
- Once the session is open, go to the ‘File’ menu and click ‘Save.’ You can also just click Command + S.
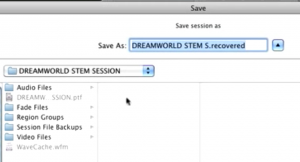
- Locate the original session that crashed and choose one of two options:
- Double-click the session file and replace it with the backup so that the changes are added to the main session being worked on in the folder; or
- Click the original session file once and add more to the name to identify it as the copy after the crash; just in case you want to leave the session you worked off unchanged.
After that, you’re good to get back to work on your session! Follow on Instagram and subscribe to our YouTube channel Mix Studios Online. If you enjoyed this, check out our blog talking about the Difference Between Consoles & Controllers.